Bringing your favorite front-end development stack to browser extension development isn't too complicated. Once you figured out all the gotchas.
Many templates on GitHub don't offer a real cross-browser experience.
They either use:
Manifest V3 that Firefox does not yet support
Manifest V2. You can use it to build and test extensions for Chrome, but you can't publish them to the Chrome Web Store.
I'm a Firefox user, but I know most of you use Chrome.
Because I wanted my extension Tweton to be available to wider audiences, I made it cross browser with the above tech stack.
I'm sharing this tutorial so you can build proper cross-browser plugins that work with Manifest v2 and v3.
If you'd like to support my work and you're interested in the "behind the scenes" of this blog, check out my free newsletter:
Now let's get started!
Setup
This section will be your casual how-to-set-up Vite with React and TailwindCSS tutorial, if you will.
Nothing in this section is specific to browser plugins.
You can use it as a reference for your next plugins or web applications.
Create a Vite + React + TS project
The fastest way to get started with Vite for empty projects is to scaffold from a react-ts template.
This template uses @plugin-react for Vite.
You don't have to worry about setting up TypeScript itself.
The template supplies a default tsconfig.json and all the required dependencies in package.json.
Open the command line and run:
$ npm create vite@latest vite-react-tailwindcss-extension -- --template react-ts
Run the command and enter the vite-react-tailwindcss-extension directory.
Install the packages, and make sure the template application works:
$ npm i
$ npm run dev

> vite-react-tailwindcss-extension@0.0.0 dev
> vite


  VITE v3.2.3  ready in 595 ms

  ➜  Local:   http://127.0.0.1:5173/
  ➜  Network: use --host to expose
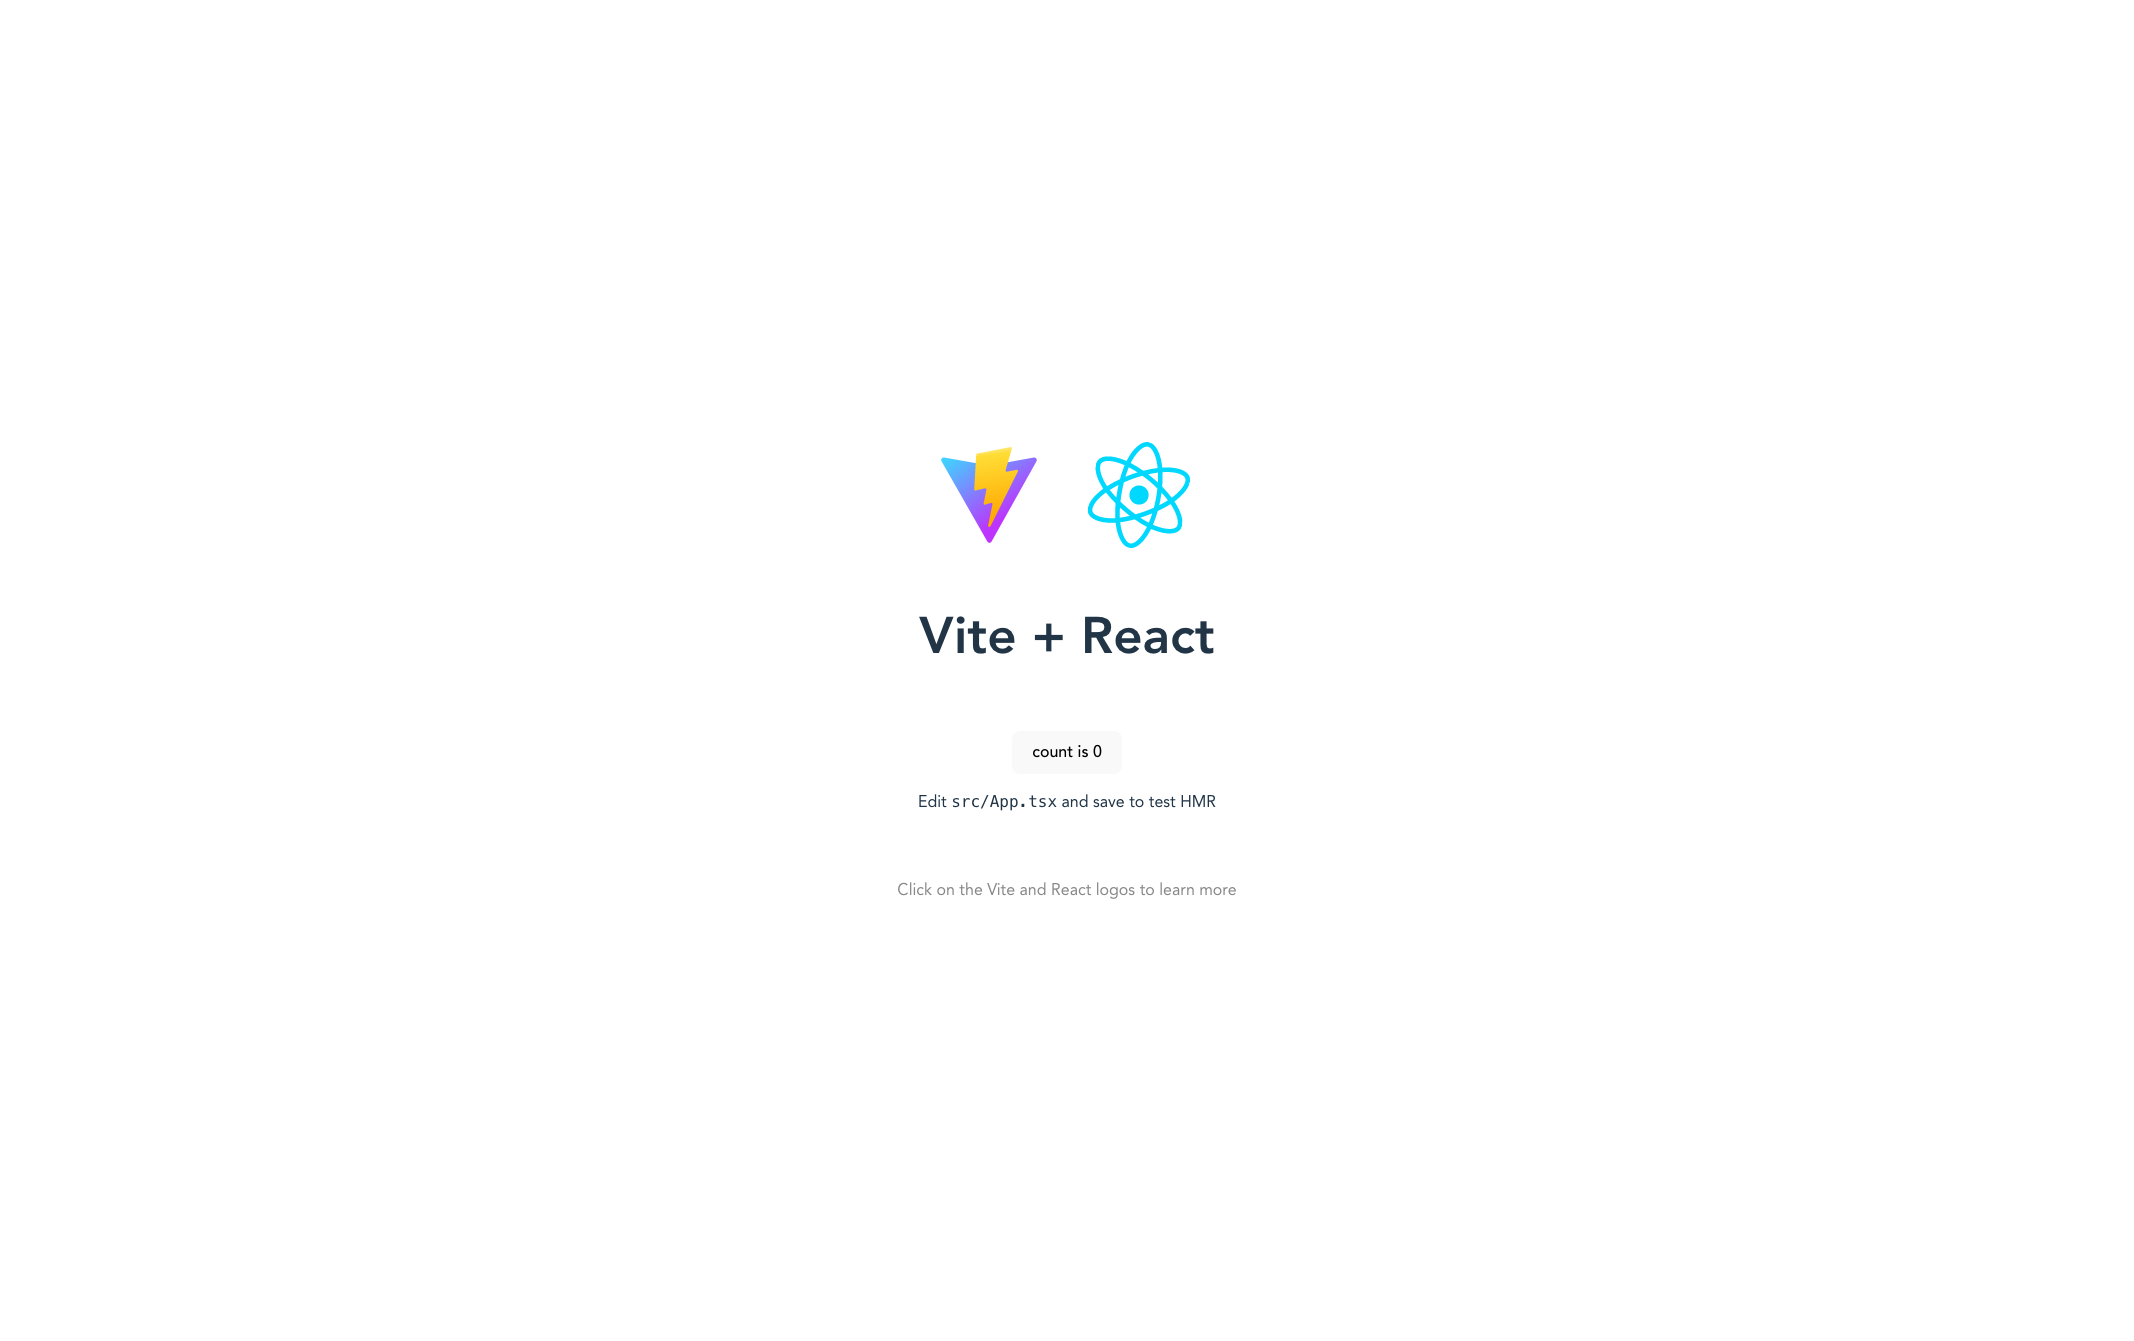
If everything is setup correctly and you click the link in the command line or open it in your browser, you should see the scaffolded app that looks something like this:
TailwindCSS
Next, we're adding TailwindCSS. There's an official Vite-specific guide I suggest you follow. I don't want to recite here the entire thing because the official docs are always up to date.
Once you installed the necessary dependencies and adjusted the tailwind.config.cjs , the template paths, and added the TailwindCSS directives to index.css files, replace the contents of src/App.tsx with the following:
function handleClick () {
  // do nothing for now
}

function App() {
  return (
    <div className="App flex flex-col gap-4 h-screen items-center justify-center">
      <div className="text-5xl font-extrabold">
        <span className="bg-clip-text text-transparent bg-gradient-to-r from-pink-500 to-violet-500">
          This is My First Browser Extensions!
        </span>
      </div>
      <div className='text-2xl text-gray-800'>
        Powered by Vite, React, TypeScript, and TailwindCSS
      </div>
      <button className="px-4 py-2 font-semibold text-sm bg-cyan-500 text-white rounded-full shadow-sm" onClick={handleClick}>Click me!</button>
    </div>
  )
}

export default App;
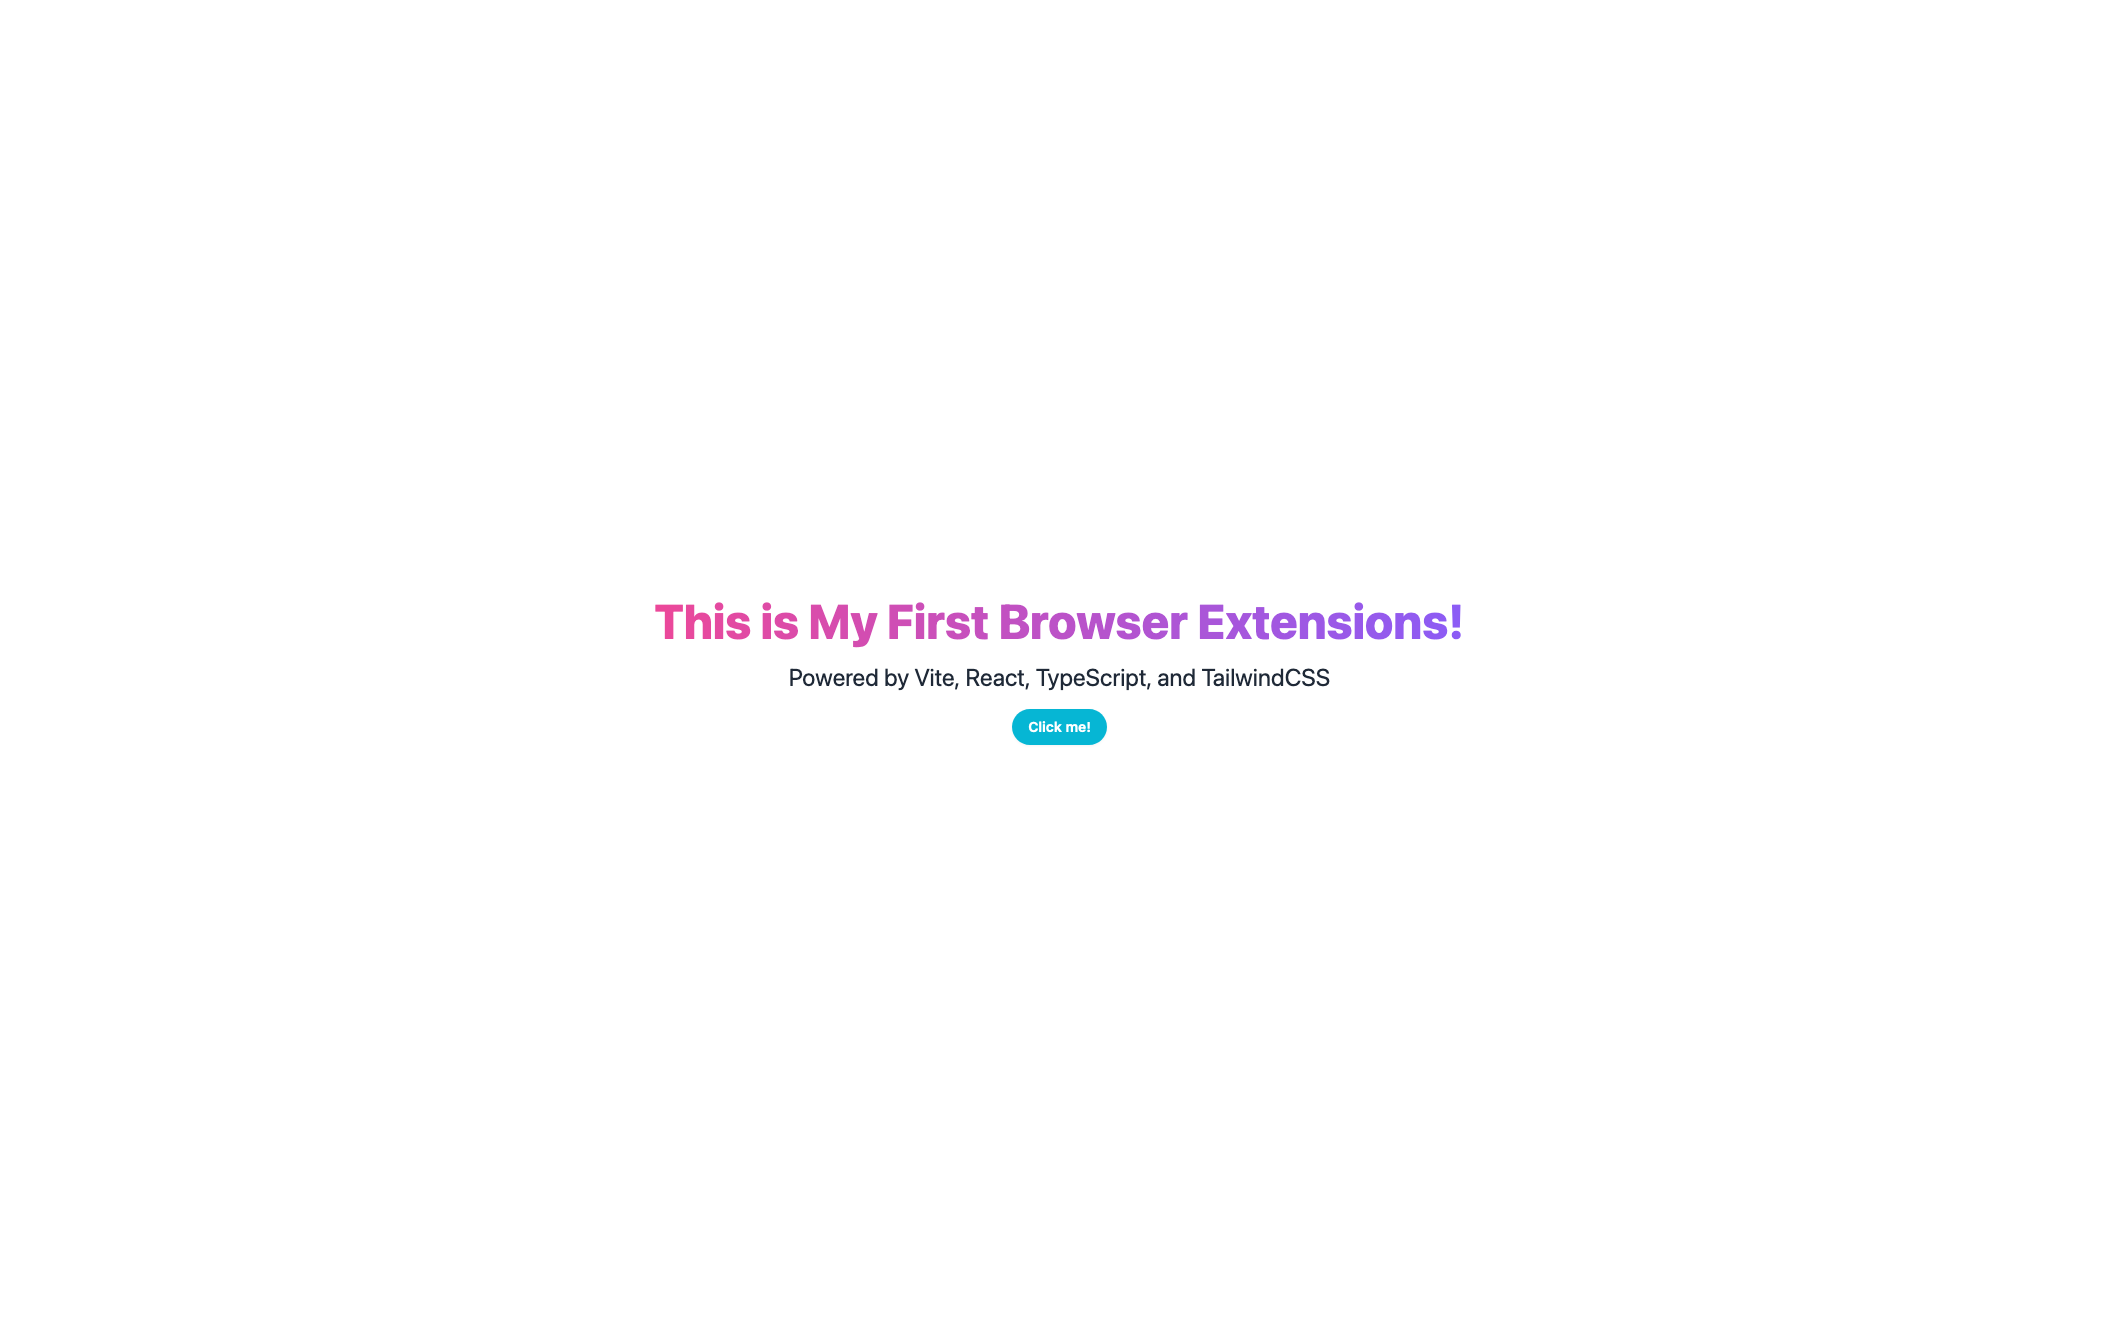
If you run npm run dev again, you'll notice how the entire page has changed:
You can delete App.css and everything from index.css.
Leaving only the TailwindCSS directives:
/* src/index.css */

@tailwind base;
@tailwind components;
@tailwind utilities;
Our favorite front-end stack is ready!
It's time to spice it up and turn this into a browser extension!
Creating the Browser Extension Layout
In this section, we're adding our first browser-plugin-specific files.
In my previous guide, we were already talking about what these files are used for in browser plugins.
But before, we're going to need a super important package:
webextension-polyfill
This package lets us use the standardized Browser Extension API in Firefox and Chrome.
To install the package and its typing, run:
npm i -D webextension-polyfill @types/webextension-polyfill
We will use this package in the background and the content script.
Popup file
First, start with the popup file. The popup is the UI you get when you click on the plugin's icon in the browser's toolbar.
Create a popup.html file in the root of your project directory, next to package.json:
<!DOCTYPE html>
<html lang="en">
<head>
    <meta charset="UTF-8"/>
    <title>Vite + React + TS + TailwindCSS</title>
</head>
<body>
  <h1>Vite + React + TS + TailwindCSS</h1>
</body>
</html>
Background files
This is where we first run into browser-specific, more precisely, Manifest-specific conventions.
background.html
In Manifest v2, the way how you define the background script is through a particular HTML page. The sole purpose of this page is to import the background script.
<!DOCTYPE html>
<html lang="en">
<head>
    <meta charset="UTF-8" />
    <title>Vite + React + TS</title>
</head>
<body>
    <script type="module" src="./background.ts"></script>
</body>
</html>
Later, when we add our browser-specific Manifest files, you'll see that Chrome doesn't need this file.
This is because Manifest V3 uses service workers.
background.ts
Let's keep the background file simple for now:
import browser from "webextension-polyfill";

browser.runtime.onMessage.addListener((msg, sender, response) => {
  console.log('message received from content script: ', msg);
  return true;
});
Note the webextension-polyfill import, the package we installed earlier.
Content Script
Content Script runs in the context of a particular web page and can directly access the contents of that page.
This can be useful if you want to make a plugin that interacts with the website's contents, such as Grammarly or Tweton.
In this example, our main UI will render inside the web page, similar to the above two plugins.
To create a better separation, I suggest you create a new directory content-scripts where you'll place your content script files.
Move src/index.tsx and src/index.css files there.
Change the contents of src/index.tsx to:
// src/content-script/index.tsx
import React from 'react'
import ReactDOM from 'react-dom/client'
import App from './App'
import './index.css'

const index = document.createElement('div')
index.id = 'extension-root';

const body = document.querySelector('body')
if (body) {
  body.prepend(index)
}

ReactDOM.createRoot(index).render(
  <React.StrictMode>
    <App />
  </React.StrictMode>
)
This snippet is close to what we originally had.
The only different thing is that with traditional React apps, you would create an empty index.html page with a <div id="root"></div> and use something like this to get the app rendered:
ReactDOM.render(
  <React.StrictMode>
    <App />
  </React.StrictMode>,
  document.getElementById('root')
);
In the case of content scripts, you can target any part of the current webpage and render your entire React app there!
Finally, update the handleClick function in content-script/App.tsx:
import browser from "webextension-polyfill";

function handleClick () {
 browser.runtime.sendMessage({ action: 'Hi from content script 👋' });
}

function App() {
 return (
// the rest is unchanged
With the new handler, clicking the button will send an object to your background script!
Creating the Browser Manifest Files
At this point, we have all the JavaScript files that a browser plugin will need.
It's time to describe how the browser will use these files.
Remember the differences from our previous post between different Manifest versions?
Because of this, we need two manifest files.
Manifest V2 for Firefox.
Manifest V3 for Chrome and other Chromium-based browsers.
Firefox
Let's create a manifest.json in the public/ folder:
// public/manifest.json
{
  "name": "Vite/React/TailwindCSS Plugin",
  "description": "A Cross Borwser Template for Firefox",
  "version": "1.0.0",
  "manifest_version": 2,
  "browser_action": {
    "default_popup": "popup.html",
    "default_title": "Open the popup"
  },
  "optional_permissions": [
    "<all_urls>"
  ],
  "content_scripts": [
    {
      "matches": [
        "https://blank.org/*"
      ],
      "run_at": "document_end",
      "js": [
        "./index.global.js"
      ],
      "css": [
        "./style.css"
      ]
    }
  ],
  "background": {
    "page": "background.html",
    "persistent": false
  },
  "icons": {
    "128": "vite.svg"
  }
}
Here are the key fields:
"default_popup": "popup.html", As you probably guessed, this is the location of the popup file.
"content_scripts" describes four essential things:
matches- this is the URL that the content script can access.jsandcss- the respective files injected into the pages matched bymatchesrun_at- determines where the JS and CSS files are injected.
Chrome
Time to create the Manifest V3 for Chrome:
// public/manifestv3.json
{
  "name": "Vite/React/TailwindCSS Plugin",
  "description": "A Cross Borwser Template for Firefox",
  "version": "1.0.0",
  "manifest_version": 3,
  "action": {
    "default_popup": "popup.html",
    "default_title": "Open the popup"
  },
  "content_scripts": [
    {
      "matches": [
        "https://blank.org/*"
      ],
      "run_at": "document_end",
      "js": [
        "./index.global.js"
      ],
      "css": [
        "./style.css"
      ]
    }
  ],
  "permissions": [
    "storage"
  ],
  "background": {
    "service_worker": "./background.global.js"
  },
  "icons": {
    "128": "logo128.png"
  }
}
This is pretty much the same file for the most part:
browser-action is action , content_scripts stays the same.
The only key difference is in the background section.
If you remember, when we were talking about the Background files, we mentioned that Manifest v3 uses service workers instead of specific HTML pages to inject the background scripts.
Manifest V3 does not need the background.html page. You can reference the background script directly from the Manifest file.
Build scripts
Vite tweaks
Because the content script does not support ESM and Vite bundles to ESM by default, we have to make some adjustments here.
Let's start by creating a vite.content.config.ts file.
Here we tell Vite to turn our contents-scripts files into an IIFE bundle:
import { resolve } from 'path'
import { defineConfig } from 'vite'
import react from '@vitejs/plugin-react'

export default defineConfig({
  plugins: [react()],
  define: {
    'process.env': {}
  },
  build: {
    emptyOutDir: true,
    outDir: resolve(__dirname, 'dist'),
    lib: {
      formats: ['iife'],
      entry: resolve(__dirname, './content-script/index.tsx'),
      name: 'Vite/React/TailwindCSS Plugin'
    },
    rollupOptions: {
      output: {
        entryFileNames: 'index.global.js',
        extend: true,
      }
    }
  }
})
We can bundle the popup and the background files without this restriction. This config file becomes a lot simpler:
import { defineConfig } from 'vite'
import react from '@vitejs/plugin-react'

export default defineConfig({
  plugins: [react()],
  build: {
    outDir: 'dist',
    emptyOutDir: false,
    rollupOptions: {
      input: {
        index: new URL('./popup.html', import.meta.url).pathname,
        background: new URL('./background.html', import.meta.url).pathname,
      }
    }
  }
})
Background Script bundling for Chrome
If you remember from the previous section, Chrome uses service workers instead of background.html for background files.
To bundle our background.ts file into a single background.global.js we'll add another Vite config file:
import { defineConfig } from 'vite'
import react from '@vitejs/plugin-react'

export default defineConfig({
  plugins: [react()],
  build: {
    emptyOutDir: false,
    outDir: resolve(__dirname, 'dist'),
    lib: {
      formats: ['iife'],
      entry: resolve(__dirname, './background.ts'),
      name: 'Vite/React/TailwindCSS Plugin'
    },
    rollupOptions: {
      output: {
        entryFileNames: 'background.global.js',
        extend: true,
      }
    }
  }
})
Scripts
Let's add some handy scripts to out package.json:
"build:manifest:chrome": "mv dist/manifestv3.json dist/manifest.json",
"build:background:chrome": "vite build --config vite.chrome.background.config.ts",
"build:js": "vite build --config vite.content.config.ts",
"build:web": "tsc && vite build",
"build": "NODE_ENV=production run-s build:js build:web",
"build:chrome": "NODE_ENV=production run-s build:js build:background:chrome build:web build:manifest:chrome",
I'm using npm-run-all so I can chain together npm commands without putting && in between them. It's optional.
Try running npm run build.
If you did everything right, you should see dist/index.global.js and the dist/style.css files from our content script bundling.
The bundling of the popup and background files should have resulted dist/popup.html and in dist/assets/background.<some hash>.js that's referenced from dist/background.html .
To bundle the extensions for Chrome run npm run build:chrome. The only difference is that our dist folder will also contain a dist/background.global.js file that Chrome's Manifest V3 uses.
Testing in Firefox
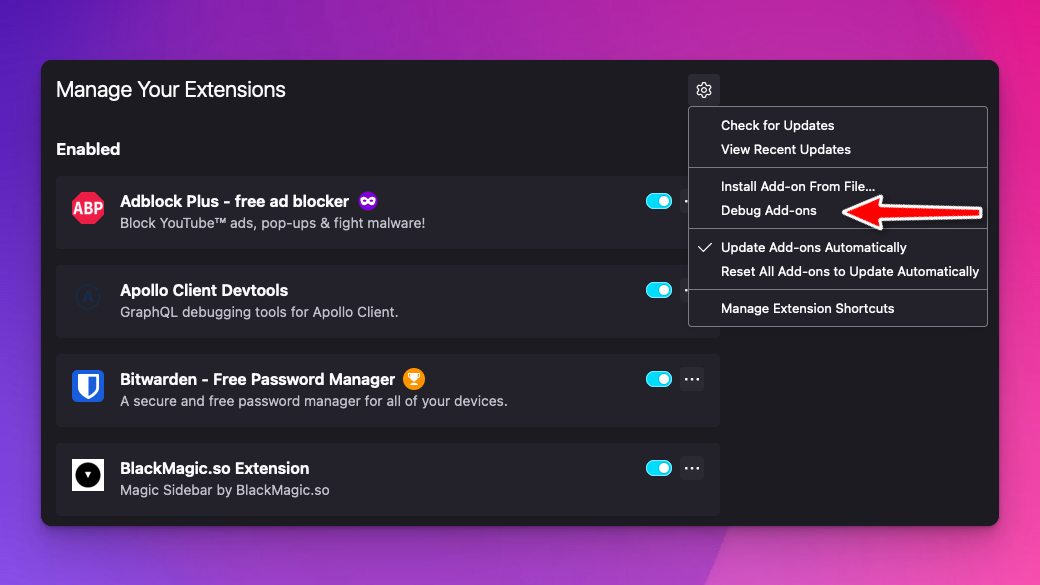
In Firefox, open preferences from the menu or enter about:preferences in the address bar.
Go to Extensions & Themes, and click the little gear icon in the upper right corner.
Select Debug Add-ons:
On the next screen, click Load Temporary Add-on and locate the directory where your dist/ is located:
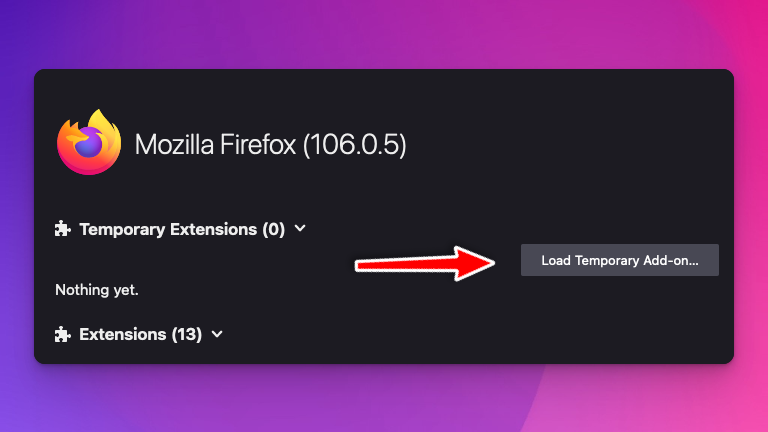
select the manifest.json file and click Open.
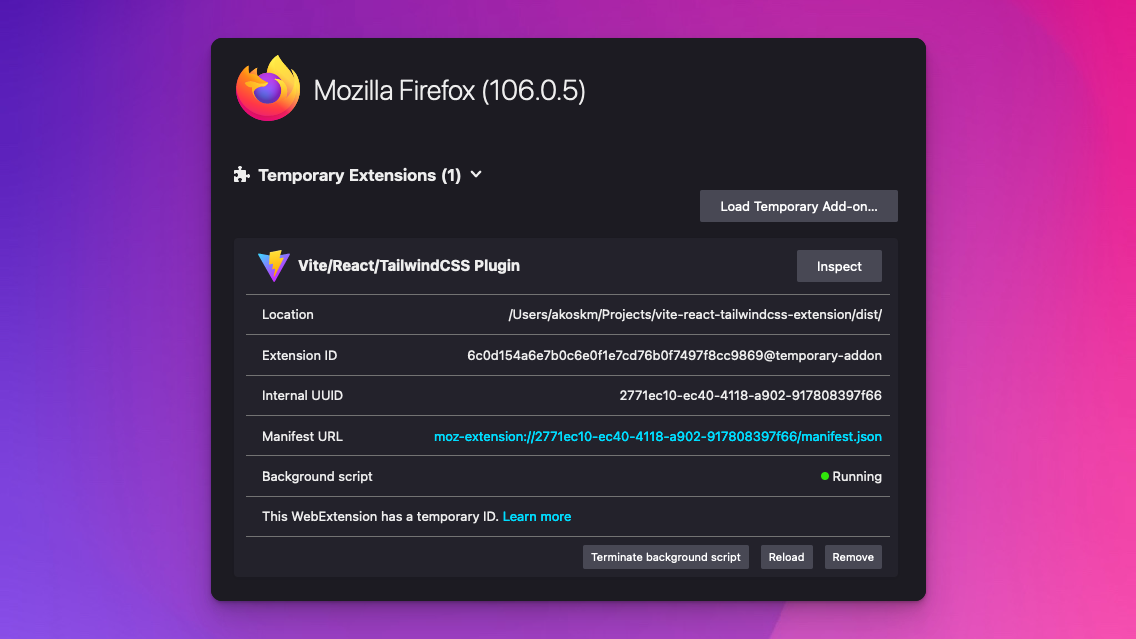
It should appear under Temporary Extensions:
Content Script
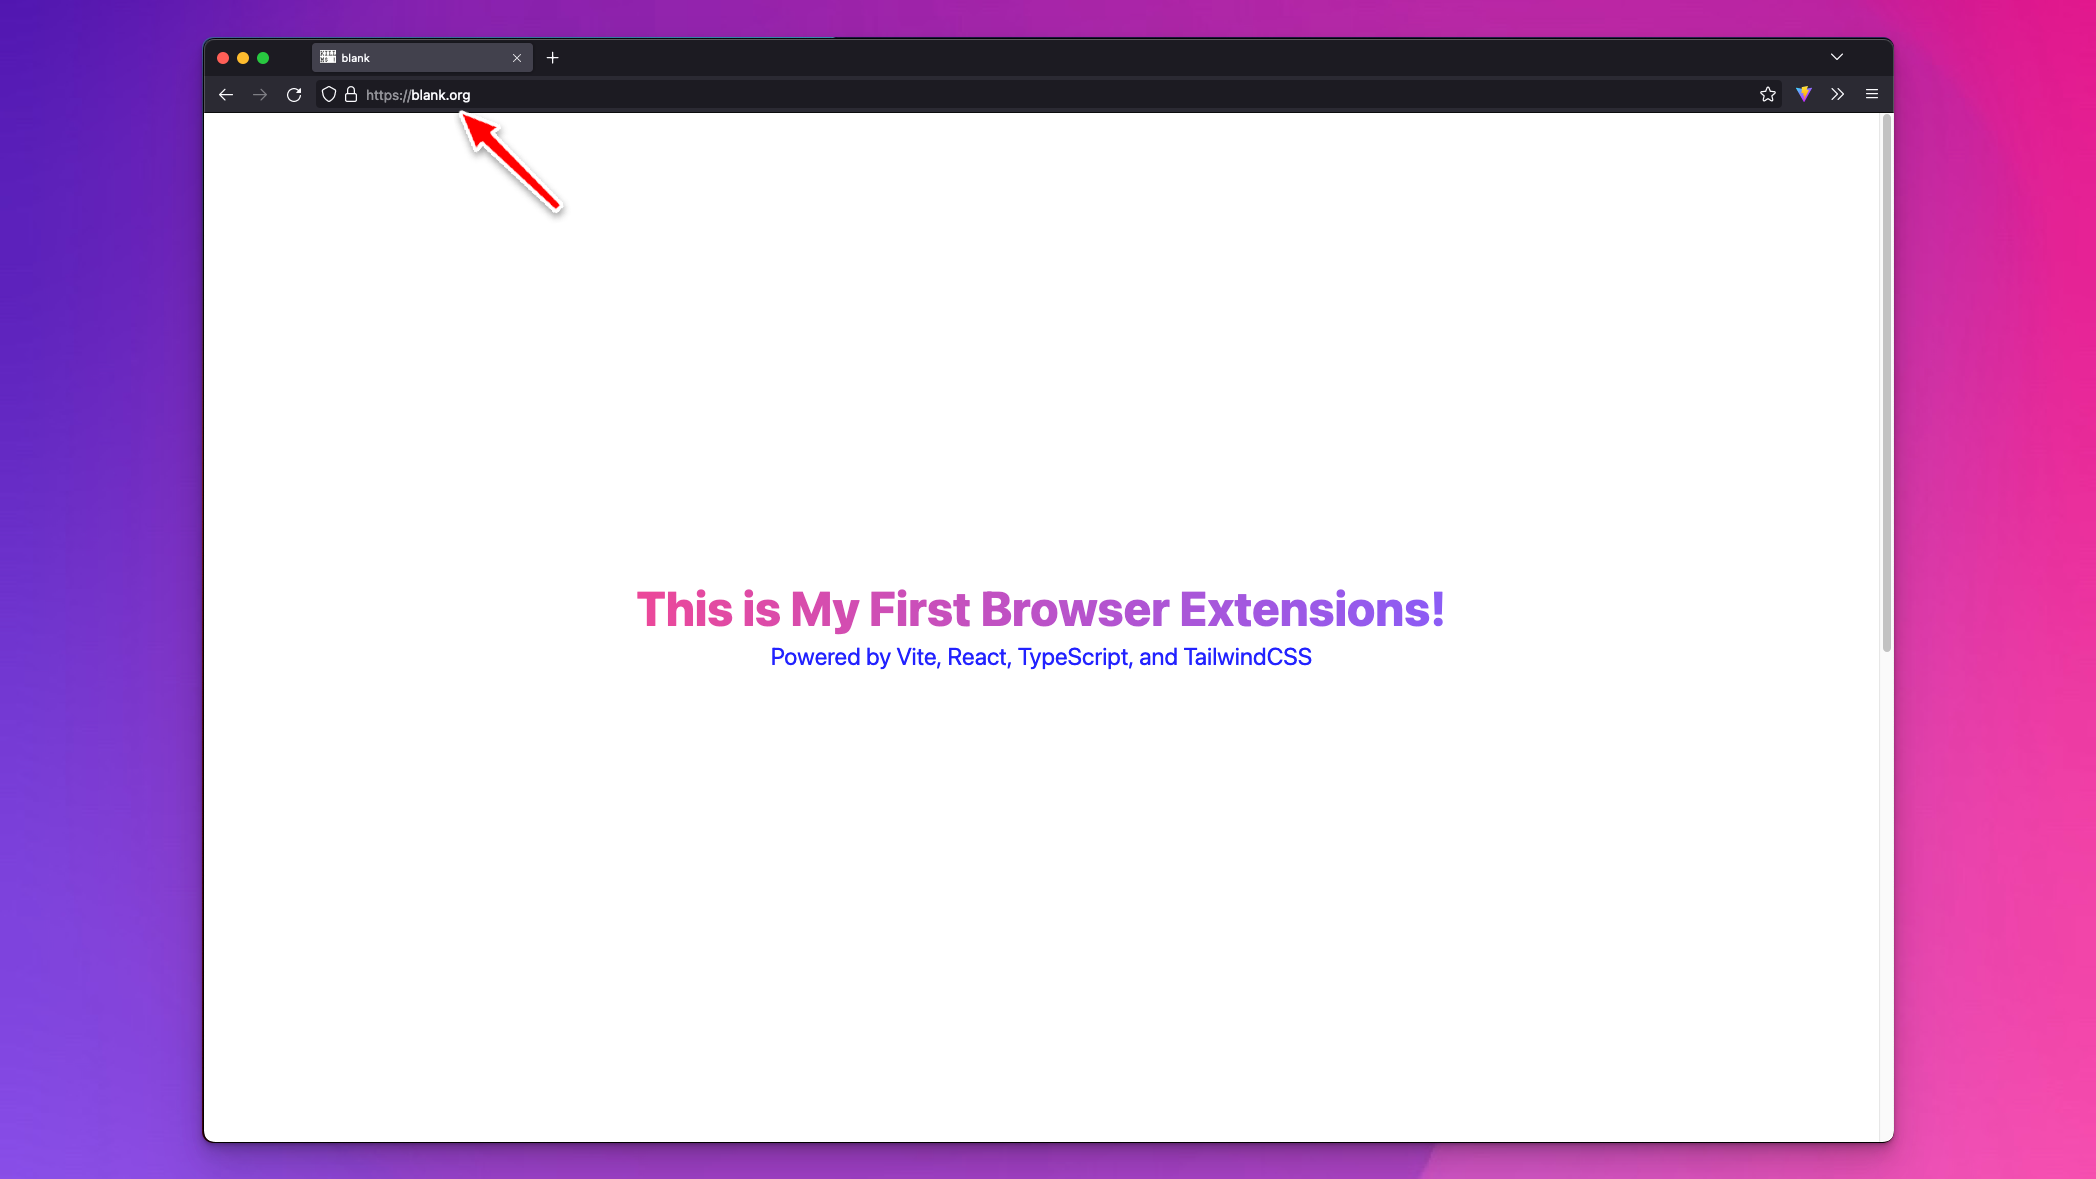
Navigate to https://blank.org, and you should see your extension injected inside the page:
Popup
The extension icon should automatically appear after installation in your extension area:
Background
To test the background script, go back to Temporary Extensions and click the Inspect button next to the addon's name. A debug panel will pop up.
Switch back to blank.org and click the button:
Similar to the above recording, { action: 'Hi from content script 👋' } should appear in the console of the background script.
Testing in Chrome
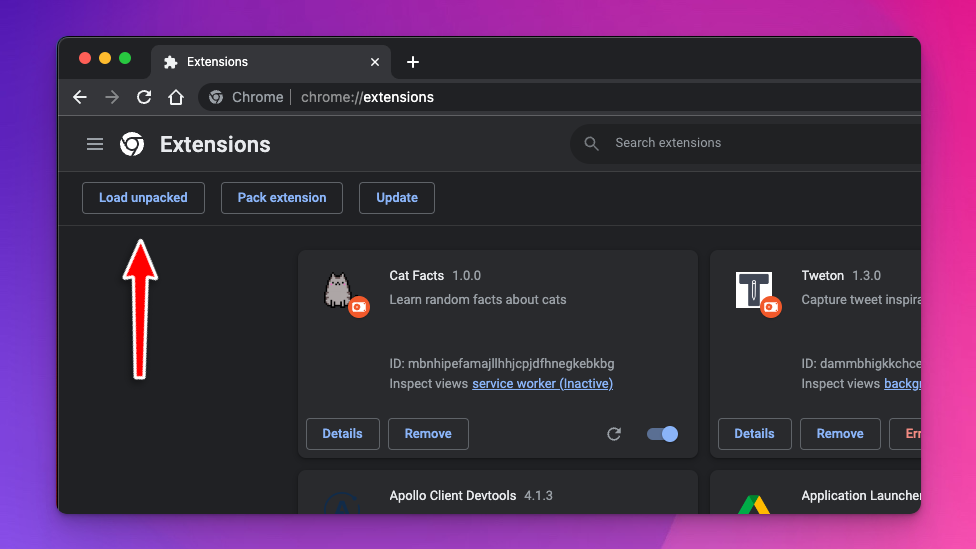
Type chrome://extensions/ in the browser's search bar and click Load unpacked:
Content script
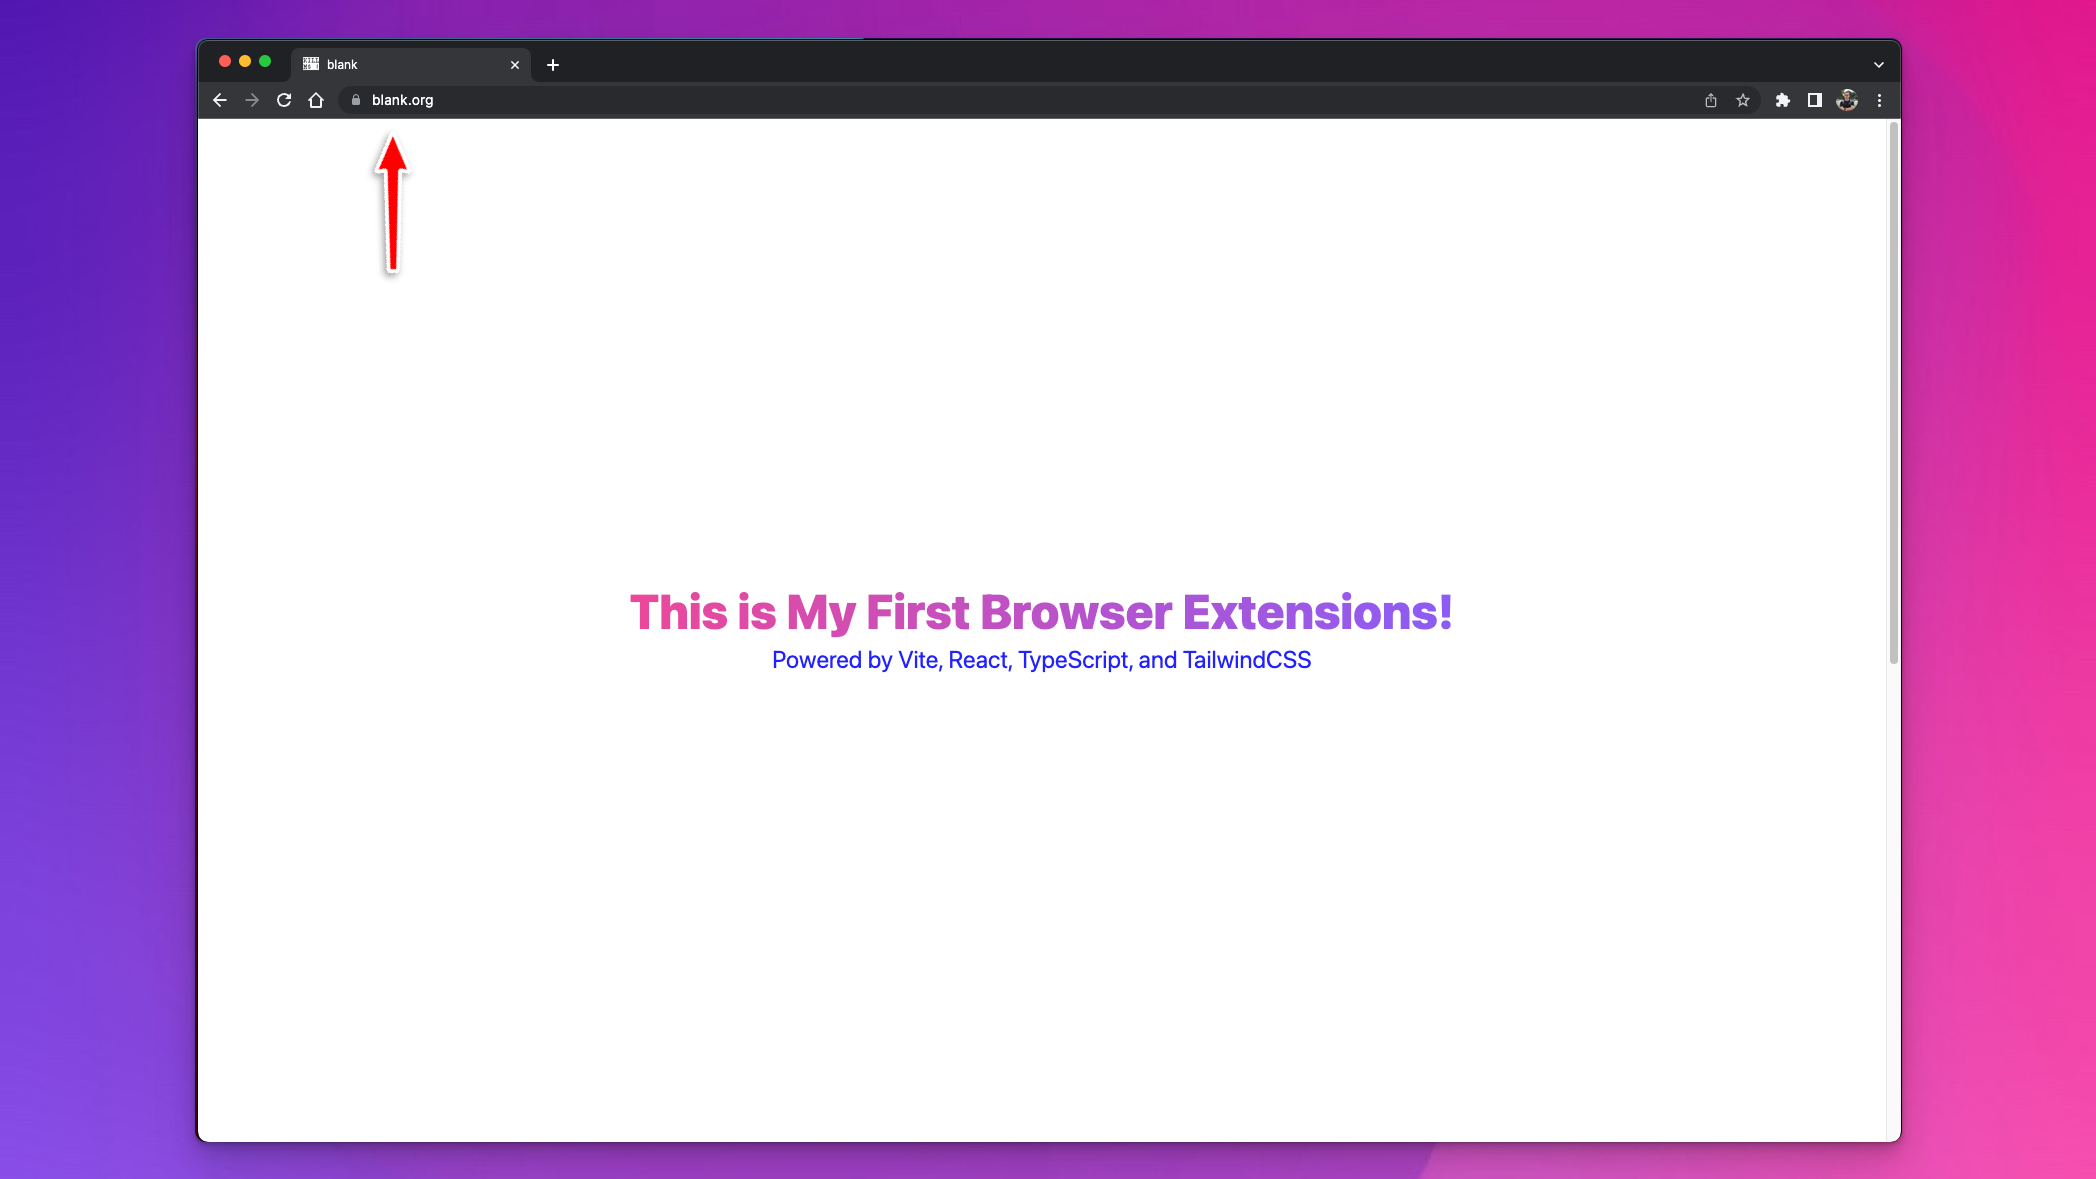
Navigate again to https://blank.org and make sure the extension is running:
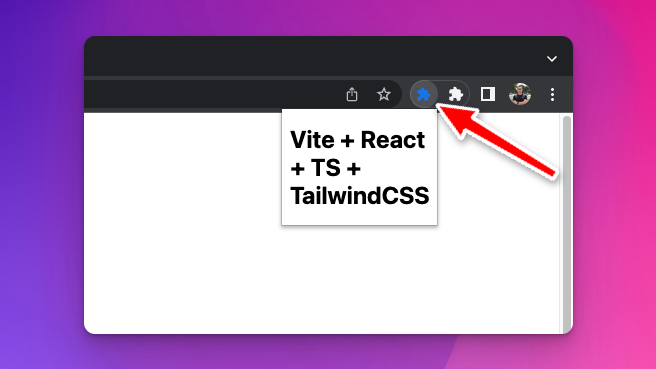
Popup
Let's check our popup page as well! Click the 🧩 icon, find the Vite/React/TailwindCSS Plugin, pin it to the toolbar, and click it.
Background
To check the background script, go back to the extensions page chrome://extensions/ and click the service worker link:
It already contains the { action: 'Hi from content script 👋' } message because I already clicked the button before I clicked the service worker link, but you get the idea.
GitHub repository template
https://github.com/akoskm/vite-react-tailwindcss-browser-extension-simple
What's next?
Well, first of all: Congratulations!
Building cross-browser extensions isn't a simple task.
Enjoy the fruit of your hard work, and try to tweak the extension a bit.
Things you could try out:
create a floating extension that stays in the top-left corner of every page
an extension that attaches to a specific element inside your blog
build a sticky note-taking app
But you might ask - how do we save the notes?
That's what we're going to solve in our next blog post!