
We love Apollo Client because of its built-in robust state management, in-memory caching, and error handling capabilities. To keep the demo simple we’re not going to write any backend code for this presentation, and use the publicly available SpaceX GraphQL API.
Installing Apollo Client with React and TypeScript
To make our lives simpler we’re also going to start with create-react-app, specifically with a typescript template:
yarn create react-app apollo-client-react-typescript --template typescript
Next, we’re going to install the Apollo Client alongside GraphQL:
yarn add @apollo/client graphql
The @apollo/client package contains the state management/caching and error handling while graphql parses the GraphQL queries.
Now that we have these packages installed we’ll create the building blocks that are necessary to communicate with the GraphQL endpoint.
Data fetching with Apollo Client
Building a client
The Apollo Client is the object where we specify the details of our connection.
To create an ApolloClient we must set the following parameters in the constructor:
uri: GraphQL URL we want to query when usingApolloClientcache: a cache configuration to tell Apollo Client how to store the results on your machine
Our Apollo Client will look like this:
const client = new ApolloClient({
  uri: 'https://api.spacex.land/graphql/',
  cache: new InMemoryCache()
});
Building an Apollo Provider
To be able to use this Apollo Client instance inside a React Component, we have to wrap the React component with a specific component called ApolloProvider.
This accepts a single prop: client that is an instance of an ApolloClient.
Connecting the Apollo Provider to the React Component
It's time to pass our instance of ApolloClient to the ApolloProvider component.
The best place to do this is a top-level component (such as index.tsx in our app) so all child components will have access to the Apollo client through the same provider.
Open index.tsx, our top-level component and wrap it with ApolloProvider while passing in the ApolloClient instance:
import App from './App';
import { ApolloProvider } from '@apollo/client/react';
import { ApolloClient, InMemoryCache } from '@apollo/client';

const client = new ApolloClient({
  uri: 'https://api.spacex.land/graphql/',
  cache: new InMemoryCache()
});

ReactDOM.render(
  <React.StrictMode>
    <ApolloProvider client={client}>
      <App />
    </ApolloProvider>
  </React.StrictMode>,
  document.getElementById('root')
);
Querying data with Apollo Client and TypeScript
Now that we wrapped the App React Component with ApolloProvider, we’re ready to make some queries.
GraphQL, thanks to its GraphiQL interface provides an easy way to discover GraphQL APIs.
If you haven’t decided what you want to query for, visit the interactive explorer of the SpaceX API here: https://api.spacex.land/graphql/.
Let’s say we want to create a query that returns the id, name, the Wikipedia link, and a brief description of each SpaceX rocket.
If you're new to the GraphQL syntax I suggest you visit https://graphql.org/learn/queries/.
The query would look like this:
{
  rockets {
    id
    name
    wikipedia
    description
  }
}
Let’s create a type that describes a single rocket:
interface RocketData {
  id: string;
  name: string;
  wikipedia: string;
  description: string;
}
Don’t forget, we’re going to receive an array of rockets here, so let’s create a type for that as well:
interface RocketsResult {
  rockets: Array<RocketData>;
}
To run this query we’re going to use the useQuery hook and the gql function, provided by the Apollo Client:
import { useQuery, gql } from '@apollo/client';

const ROCKETS = gql`
  rockets {
    id
    name
    wikipedia
    description
  }
`;

function App() {
  const { loading, error, data } = useQuery<RocketsResult>(ROCKETS);

  return (
    <>
      <h1>SpaceX Rockets</h1>
      {loading || !data ? (<p>Loading...</p>) :
        data.rockets.map(rocket => (
          <div key={rocket.id}>
            <h2><a href={rocket.wikipedia}>{rocket.name}</a></h2>
            <p>{rocket.description}</p>
          </div>
        ))
      }
    </>
  );
}

export default App;
useQuery’s first type is the type that corresponds to the data structure we’re going to receive from the GraphQL endpoint.
The useQuery hook also returns an object with the following properties:
loading: indicates if Apollo Client is still waiting for the query resultserror: if the query resulted in error(s)data: the results of the GraphQL Query
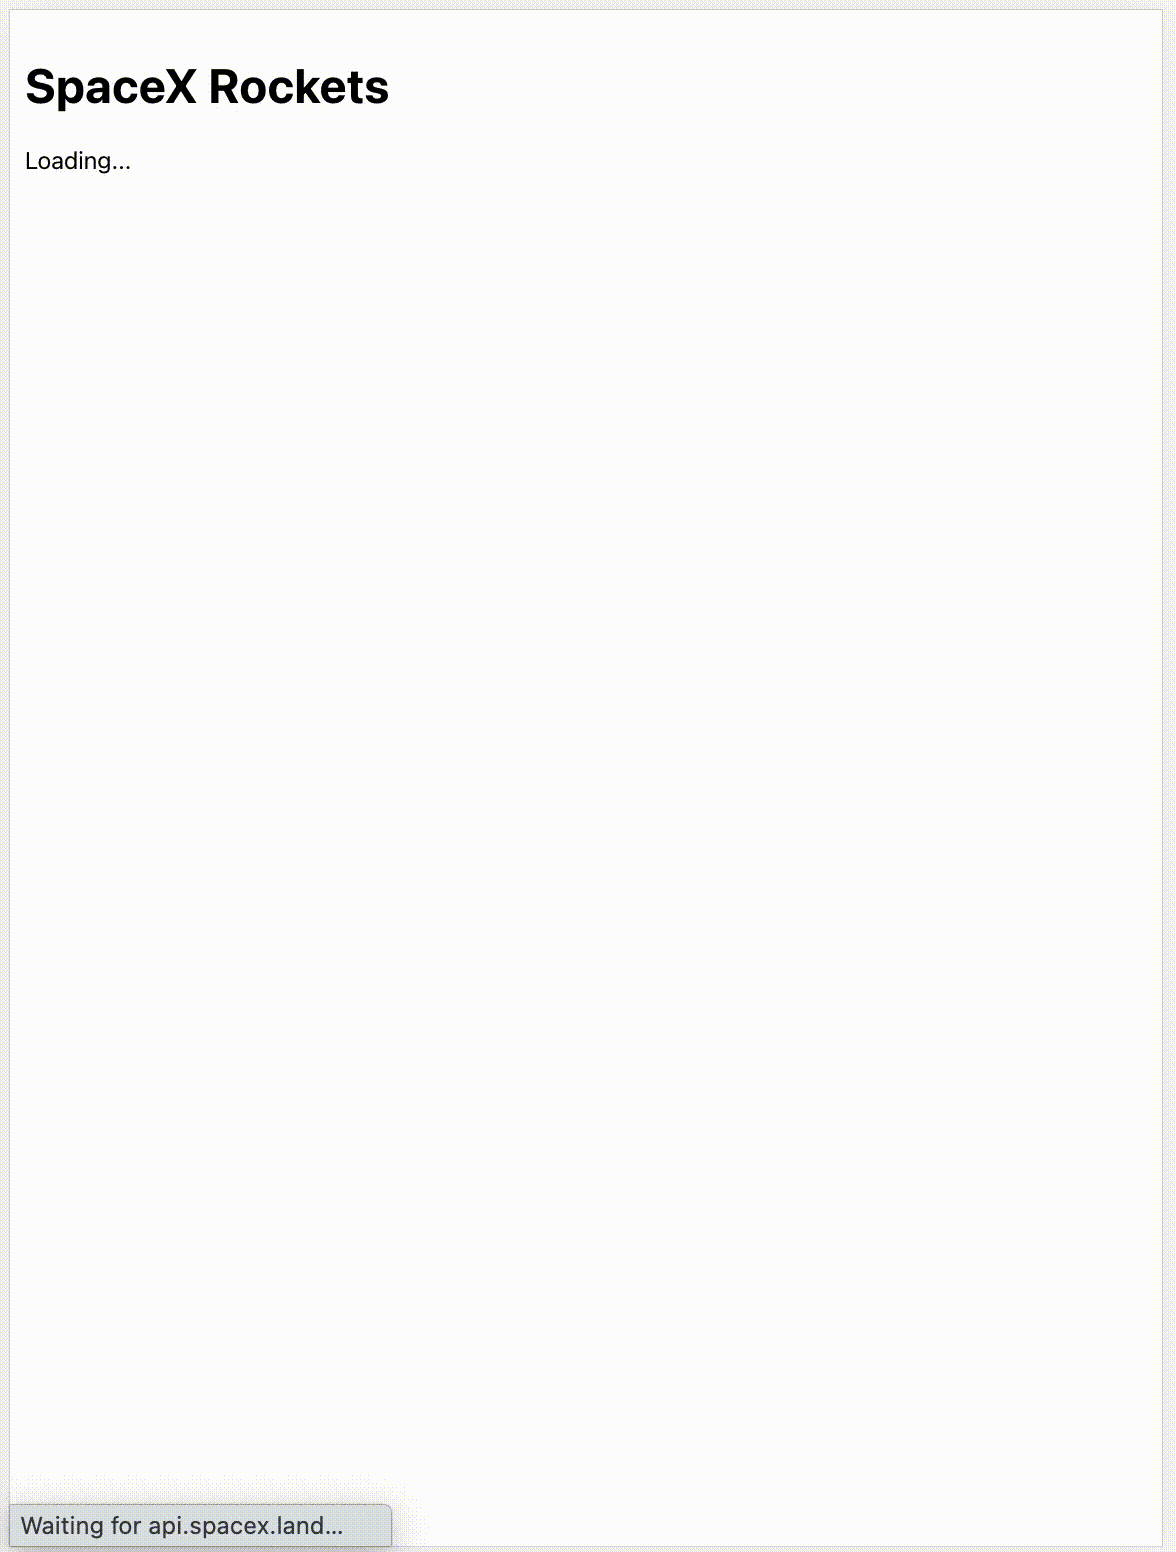
Now you can run the app with yarn start and you should see something similar in your browser:
Modifying data with Apollo Client
Now that we’ve learned how to fetch data with Apollo Client it would be nice to see how we can update things at the other end of the GraphQL endpoint.
SpaceX API provides a simple interface for adding users.
When writing a mutation query we use the same gql function we used for the query:
const ADD_USER = gql`
  mutation InsertUser($name: String!) {
    insert_users(objects: { name: $name }) {
      returning {
        id
        name
      }
    }
  }
`;
You might’ve already noticed that, unlike the query, the mutation has a function-like signature. In case of insert_user it accepts objects: { name: $name }.
Let’s define some TypeScript types to describe what kind of data we’re getting back from this mutation. These types are going to depend a lot on how the GraphQL endpoint formats its response. In our case, the types are the following:
interface UserDetails {
  id: string;
  name: string;
}

interface AddUserResponse {
  returning: Array<UserDetails>;
}
The useMutation query has the following signature:
  const [addUser, { data: userData }] = useMutation<
    { insert_users: AddUserResponse }
  >(ADD_USER);
Important to note that the mutation is not called when we define the hook.
It returns a function - in our case addUser - that we should call with the necessary parameters.
Same as for the userQuery hooks, the type you pass into useMutation should match the response you get back from the server after you call this mutation.
Now let’s put it all together:
interface UserDetails {
  id?: string;
  name: string;
}

interface AddUserResponse {
  returning: Array<UserDetails>;
}

function App() {
  const [name, setName] = useState('');

  const [addUser, { data: userData }] = useMutation<
    { insert_users: AddUserResponse }
  >(ADD_USER);

  function handleOnChange(e: React.ChangeEvent<HTMLInputElement>) {
    setName(e.target.value);
  }

  async function handleOnSubmit(e: React.FormEvent) {
    e.preventDefault();
    await addUser({ variables: { name }});
    setName('');
  }

  return (
    <>
      <h1>Users</h1>
      <form onSubmit={handleOnSubmit}>
        <label htmlFor="username">Name: </label>
        <input required name="username" type="text" onChange={handleOnChange} value={name}/>
        <button type="submit">Add User</button>
        <p>
          New User ID: {userData && userData.insert_users.returning[0].id}
        </p>
      </form>
    </>
  );
}
Here’s what you should see in your browser:

Congratulation, you just added a new user to SpaceX API’s Database!
This Demo project is available on GitHub.
What’s next? If you would like to further explore the capabilities of Apollo GraphQL I suggest checking out their Subscriptions interface and Fragments logic.
Are you already using GraphQL in some of your projects? Do you think it's going to replace REST?
Photo by David Torres on Unsplash